Monday, July 25, 2011

Subway Art Canvases

The Mod Podge Mania continues!  This canvas is a birthday gift for my awesomely awesome nephew
Seriously, the kid rocks and I think he needs to know it.  After the week at VBS, I started thinking about how important it is for our kids to know they are not an accident.  Every gift, every feature, every circumstance in our lives is hand picked especially for us by the Lord.  We need to remind our children of this daily!

"You made all the delicate, inner parts of my body
      and knit me together in my mother’s womb." -Psalm 139:13

I am so often drawn to this verse; it helps me to understand that He made me and that I am His.

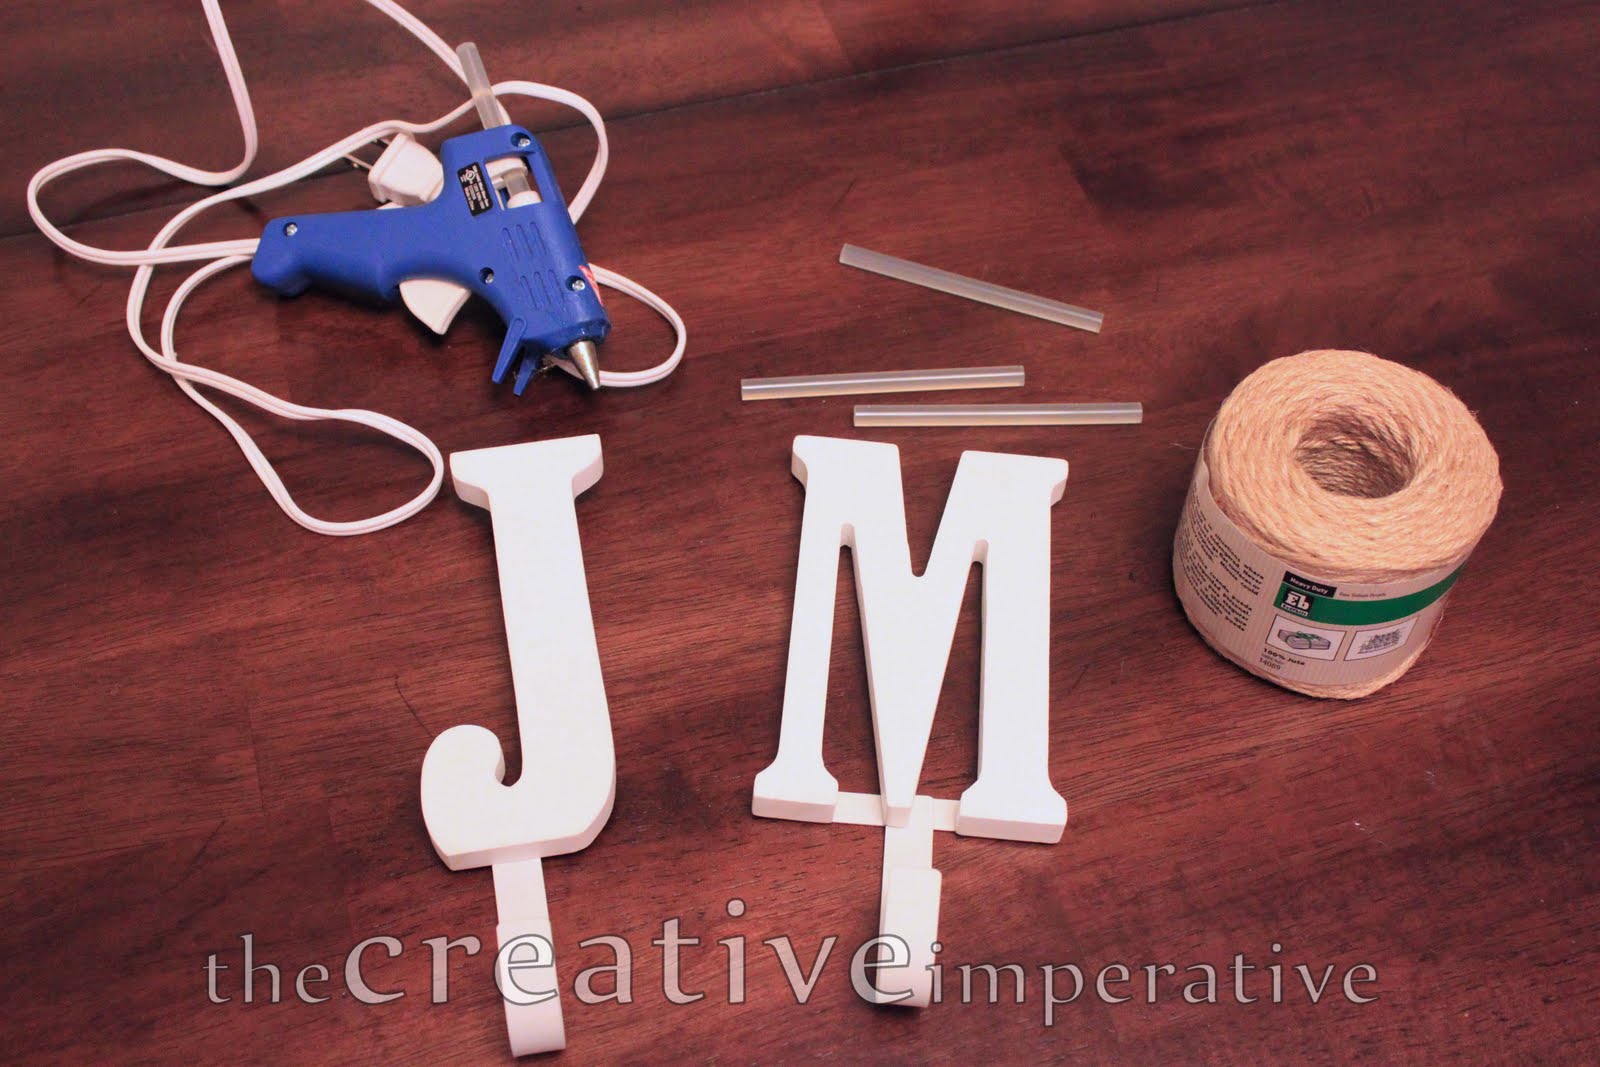
You can find more details about how to assemble these here.  This time around I wizened up a little and painted the edges/corners of the canvas before I got started.  It was driving me nuts that there were little bits of white peeking through on the other photo canvases.

I designed the layout in Adobe Illustrator and I had the images printed as 11 x 14s at Costco.  They were only $2.99 a piece!

I love Illustrator because the font is always crisp.  I adjusted the opacity on a lot of the words so there would be variation to the image.

I made one for each of my kids' rooms too.
 This one is my son's... I forgot to include his #1 quality: musical!  I can't believe this oversight; I'm seriously going to have to redo his canvas because it will bother me until I do.  Maybe his constant drumming knocked something loose in my brain.

I decided to "distress" the image on my nephew's;  he just turned 8 and I wanted his to look a little more hip.  Do people even say hip anymore?

After dry brushing the black around the edges and on top of the image, I brushed on one last layer of Mod Podge.

Close up!

You can also get custom canvas prints.

Or you can visit my etsy shop and I'll make you one!

Do you have a one of a kind kid in your life?  Tell me about him or her in the comments!

***Just a note... do not try to print this on your home printer.  I have heard about bad results doing it that way.  Be sure to have it printed as a professional photographic print.  Also, you have to use a vector program such as Adobe Illustrator if you want crisp lines.  Programs that are based on pixels could turn out fuzzy!***  

Blessings,
Jamie
Pin It

This post is featured here
Holy Craft


Confessions of a Stay At Home Mommy

IhookedupwithHoHlamespice
Craft Junkie Too Friend
SBLCBUtton

Wednesday, July 20, 2011

Mod Podge Mania!

I don't think I would have attempted any of this stuff if it weren't for Cassie at Primitive and Proper's Wine and Design night.  The theme was "Mod Podge" and, of course, wine.  Andi from Jane of All Crafts invited me and I'm so glad she did!  Cassie and Andi are like the dynamic duo of craft blogging.  Or blog crafting.

I ended up working on these that night

I got the idea for the project at Blue Cricket Design's guest post by the Sassy Pepper.  I ran a search for "Mod Podge" on Pinterest and this was my favorite thing I saw!
So beautiful.  And the tutorial is very well written.

Since I had already pulled out the Mod Podge, I decided to make my Father-in-law's birthday gift.
It was so easy to do!  Here's what you need:
  • mod podge
  • 5"x7" wooden plaque
  • brush
  • foam brush
  • acrylic paint (I used black)
  • 4"x6" photo
  • dry rag
Let's get started.  Paint the sides of the plaques; let some of the paint overlap onto the face of the plaque.  Go do some dishes or something while the paint dries (I can only seem to trick myself into doing housework while I'm in the midst of crafting).

With the foam brush, coat the face of the plaque with a layer of Mod Podge.  Let it dry for about 15 minutes;  go put in a load of laundry.

Brush a layer of Mod Podge on the back of your photo.

Brush another layer of Mod Podge on the face of your plaque.  Center your photo on the plaque, press it down and smooth out any bubbles with the rag.  Wait for that to dry and go do something else around your house.  Girl, you are getting stuff done tonight!

Now brush a layer of Mod Podge on top of the photo and over the parts painted black.  Freak out for a little bit because the photo looks all milky and ruined.  It will dry clear, I promise!

Ta-da!

*These plaques are from JoAnn and the faces of them are a little bigger than 4x6.  It isn't quite as clean of a look, but I still like them*

All 3 together... I'll probably attach them to one another with ribbon so they're easy for my FIL to hang

And just for fun I made one of these of my son and his teacher.  This view really shows how it looks mounted on the plaque.

These wooden plaques cost only $.99 at Hobby Lobby and you could get them for $.60 if you have a coupon!  These are my new go-to gift for people for sure!!!

I made some for the kids in my Vacation Bible School crew... I took a photo of each kid and (in Photoshop) layered the text "God made you..." with different words that described the kid.  It's a great way to personalize a gift!

Let me know if you decide to make some!
Blessings,
Jamie
Pin It

PS:  If you EVER have an opportunity to volunteer with a VBS, do it!  It was an amazing experience that I will never forget.  I really got to know each child in my "crew" and I was so sad when the week was over.


Monday, July 18, 2011

Simple Jungle Mural: Some Tips and Tricks

This is the mural in my son's room... he is rapidly outgrowing the animals and is much more interested in superheroes these days.  I'll be repainting this soon so I thought I'd share it with you all before I do!

I took the designs for the animals right from his bedding so everything coordinated.

This foliage goes all the way around the room for continuity (and as filler for behind pieces of furniture).  I wanted to make sure if we ever moved the furniture around, there wouldn't be a big blank space on the wall.  This is such an easy method for doing greenery:
  1. paint your background color (works really well with sky blue)
  2. mix 1 part background/sky color with 1 part greenery color and paint some foliage
  3. use full strength greenery color and paint more foliage on top of that

You can see another example of this here
See how some hills look farther away?  This is one of the murals I painted at our church.

This also works great with clouds (adding more blue to some clouds to make them look farther away)
The clouds on the horizon are really faint (mixed with a lot of the blue) so the painting has a quiet/hazy feel.  It helps push the horizon way off into the distance as well.

This technique gives the mural depth (even if it's cartoony like the jungle mural).  This is done by creating a sense of atmosphere.  When you go outside and look at something far away, it actually looks bluer than objects that are close to you.  This is because of all the "atmosphere" that is between you and the object.  It's the same stuff that makes the sky look blue.  You can play with the amounts;  just know mixing the two colors will help you achieve dimension in your painting!

The finish on this dresser was super ugly (it was mine when I was a kid) so I continued the mural on it.

I freehand this stuff just because I've been painting murals for 15 years, but I used to rely heavily on projectors to help save time.  If you can get your hands on one, you can have your mural done in no time!  One more thing:  use white chalk to draw your outlines.  It wipes right off with a wet rag when your paint is all dry.  You'll drive yourself nuts trying to erase pencil!

Any questions?  Are there other tips and tricks you'd like to learn about murals?  Ask in the comments and I'll get back to you (as long as your comment isn't "no reply").  I'm also going to start a "tricks of the trade" series on The Creative Imperative so I'd like to know what you're curious about!

Blessings,
Jamie
Pin It

*Also, if you'd like to see more examples of my work you can go to Murals by Jamie.  I haven't updated it since last year, but you can click on the slideshow to peek at some of the things I've painted in the past*

This post was featured here

Mural Maker and More 


Photobucket" />

Sunday, July 17, 2011

Jute-wrapped Letter Hooks

I found these letters with a hook on the bottom at Michaels for $1 each.  But they were all white.

I really didn't like the way they looked (do you see how wacky the bottom of that "J" is???) so I doctored them up with some jute twine.  These are the supplies I used:
  • wooden letters with hook
  • jute twine (got it at Home Depot)
  • glue gun
  • mini phillips screwdriver
 The "J" was pretty easy, so I'm glad I started with that one.  I put a little hot glue on the back of the letter and started wrapping
Yep, that's a coffee bean stuck to the side of my glue gun.  I'm classy, I know.  I'll try to take it off eventually.

I continued wrapping, using a little hot glue here and there as I went.
I tried to be careful not to cover up the hook in the back, which caused some of the wrapping to be messy.  I'm now glad I didn't try to wrap it perfectly; I kind of like the haphazard look on these.

Just keep wrapping until you're almost done.
This part got a little tricky since I was running out of room in the hooked part of the "J".  I just wrestled with it a little to get it in there.

This part I used a ton of hot glue... I was completely out of space for wrapping it all the away around.  I decided to just coil it to finish it off and use glue to keep it secure.

And now it's done!  Yay!

Now on to the "M".  This one is a little more tricky since that bar goes across the bottom (making it difficult to wrap).

So I just took it off!  I unscrewed it from the back and then put it back on right before I was about to wrap that part.

All done!  Now the kids have a place to hang their own stuff by the door.  It's a right above the shoe bin (which changed my life, by the way) and under the "stuff I need to take with me but I don't want the kids touching it before we leave the house" storage thingy.

Let's see how long they last before a kiddo pulls one out of the wall

This was fun.  Maybe I'll go wrap something else!  See you again soon.
Blessings,
Jamie
Related Posts Plugin for WordPress, Blogger...