Showing posts with label kid stuff. Show all posts

Thursday, June 28, 2012

Bathroom Towel Hooks for the Kids

I have no idea who was in charge of deciding where the towel racks in this house would go, but I don't think he was of sound mind.  They are in the strangest and most inconvenient places!

OK, I'm done with my rant.  Here is my solution to the problem (at least for the kids' bathroom).


I let each of them choose their favorite ribbon from the ribbon holders.

I cut a small length (about 5") of ribbon and burned the edges to keep them from raveling.


Look at that!  I've never burned the edges before, but it really does work well.

I then sewed the ribbon into a loop onto the side of the towel.


I used white bobbin thread so the blue won't show on the towel side.

Then I hung each towel from the kids' jute-wrapped hooks.


Perfect height for them to reach right after washing their hands.  Now the trick is to get them to wash their hands in the first place....

Thanks so much for stopping by.  What do you think?  Is this something you could use in your kids' bathroom?
Blessings,
Jamie

featured here
freckled laundry
This post is linked here:  Today's Creative Blog Blue Cricket Design Kurtz Corner Mommy by Day Crafter by Night Cherished Bliss Lines Across My Face Southern Lovely Bear Rabbit Bear French Country Cottage Craft Junkie Too DIY Home Sweet Home Saved by Love Domestically Speaking Funky Junk Interiors Homemaker on a Dime Eisy Morgan The Answer is Chocolate Making the World Cuter Craft-O-Maniac lolly jane 504 Main I Heart Naptime Singing Three Little Birds mad in crafts House of Hepworths Somewhat Simple Chic on a Shoestring Keeping it Simple Be Different Act Normal Sew Can Do Sew Chatty Pinkapotamus The Girl Creative Flamingo Toes Tatertots and Jello Sisters of the Wild West Reasons to Skip the Housework Giggles Glitz and Glam Tip JunkieThe Trendy Treehouse Ladybug Blessings Night Owl Crafting Tea Rose Home My Girlish Whims Allie Makes Gluesticks Thrifty 101 Momnivores Dilemma A Little Knick Knack Miss Mustard Seed Freckled Laundry kojo designs A vision to remember Primitive and Proper 733 Rook no 17 Home Stories A to Z Naptime Crafters Whipperberry delightful order blissful and domestic elizabeth and co diy by design gingersnap crafts>my repurposed life

Friday, July 08, 2011

Rockin' Floor Pillows

My kids LOVE these!  Little ones have a way of knowing when something is made just for them.

You can see the shape has become a little warped over time, but it's because of all the use the pillows have gotten.  I think if I give them a little extra stuffing, they'll be just fine.

I found the tutorial over at Living With Punks.  It is an amazing and super detailed tute; Living with Punks is one of my favorite sewing blogs.  This is the pic that sold me on the project
What a cutie!  My little girl does the same thing with ours.  The handles are definitely the best feature.

There are a few things I changed from the tutorial.  I made the height of the pillow a few inches shorter because my little people are still pretty short.  I wanted them to be able to plop down on them easily.

Also, I decided to use this insanely thick welting.
I had been eyeing the welting at Hobby Lobby for a while and finally found a project for it.  This made the sewing a little more difficult, but I think it was worth it.

I wanted to bring in some of this fabric I had left over from my throw pillows

Mixing the upholstery fabric with the cheap purple Walmart fabric and the old stripey curtain fabric made things a little wonky too, but overall I'm happy with the way they turned out.

They're perfect for drumming

Snacking

Leapstering

Or general loafing

I think my favorite part was letting our 3 year old help stuff them.  I took apart the old pillows that came with our sofa and used the stuffing for the floor pillows.  He loved unstuffing and restuffing!
Taking his job very seriously.

This was my first project using appliques... it isn't nearly as difficult as I thought it would be!  Thank God for online tutorials.  I used Wonder Under as an adhesive and then did a really tight zigzag stitch around the edges of each letter
The stitching got a little w-w-wobbly there, but I'm OK with it.  I'm a recovering perfectionist and I consider posting pics of sub par stitching therapy for me.  Thanks for helping me on my road to recovery!

So glad you took the time to stop by.  Let me know if you make these for your kiddos!
Blessings,
Jamie
This post is featured here
freckled laundry

Confessions of a Stay At Home Mommy

Photobucket" />

Tuesday, June 28, 2011

Make Your Own Uncrustables

Looks like the real deal, right?  My kids don't know the difference!  Even when I make them with whole wheat bread they don't complain.

Let's get started.  First, you'll need one of these
The only sandwich presses I've seen are from Pampered Chef.  It will pay for itself in no time... I'm super cheap and I sprung for this thing.  I'm so glad I did!  Chances are you know a Pampered Chef consultant, but if you don't, you can contact Amie and she'll get you sandwich press of your own.  She's awesome.

I like making a lot of uncrustables at once and freezing them.  You don't have to.  Any instructions you see in this tutorial that are between *asterisks* you can skip if you are not a complete control freak.

1.  Lay out your bread on a cutting board.  *Make your own bread here.  Slice it with a serrated knife*

2.  Smear a thin layer of peanut butter in the middle each slice of bread.  *Make the most delicious peanut butter you've ever had in your life here*

3.  Put a dollop of jelly or jam in the middle of every other slice of bread, on top of the peanut butter.  *Make your own jam here*

4.  Lay one of the peanut butter only slices on top of the PB & J slices.  Line up the sandwich press in the middle of the bread.  Press the entire press down onto the sandwich until it cuts all the way through the bread.
5.  Push firmly on the plunger to seal the edges up.  Pop it out and you have an uncrustable!  *Use leftover bread (making sure there isn't excess PB on it) to make your own breadcrumbs here*
6.  Place extras in a ziploc freezer bag and freeze.  *Build your own freezer here*  just kidding :)


I don't know about you guys, but I love those quizzes you see online.  Like Socrates said, "know thyself", right?  Count up how many asterisked steps you plan on completing and see your results below.

0-1:  Let's face it, if you're even reading this and considering making your own uncrustables, you're a bit of a control freak.  It probably isn't something you need to worry about.  Although, if you are control freak, you'll worry anyway.

2-3:  You drive your family nuts, right?  Me too.  I fall into this range so I feel your pain.

4:  Go get help.  Now!

This has seriously saved our family quite a bit of money and they are so convenient to have around.  Hope you have fun making your own;  now go micromanage your family's meals!

Blessings,
Jamie
Pin It

This post is featured here


Copycat Crafts

Sunday, June 26, 2011

Sidewalk Painting

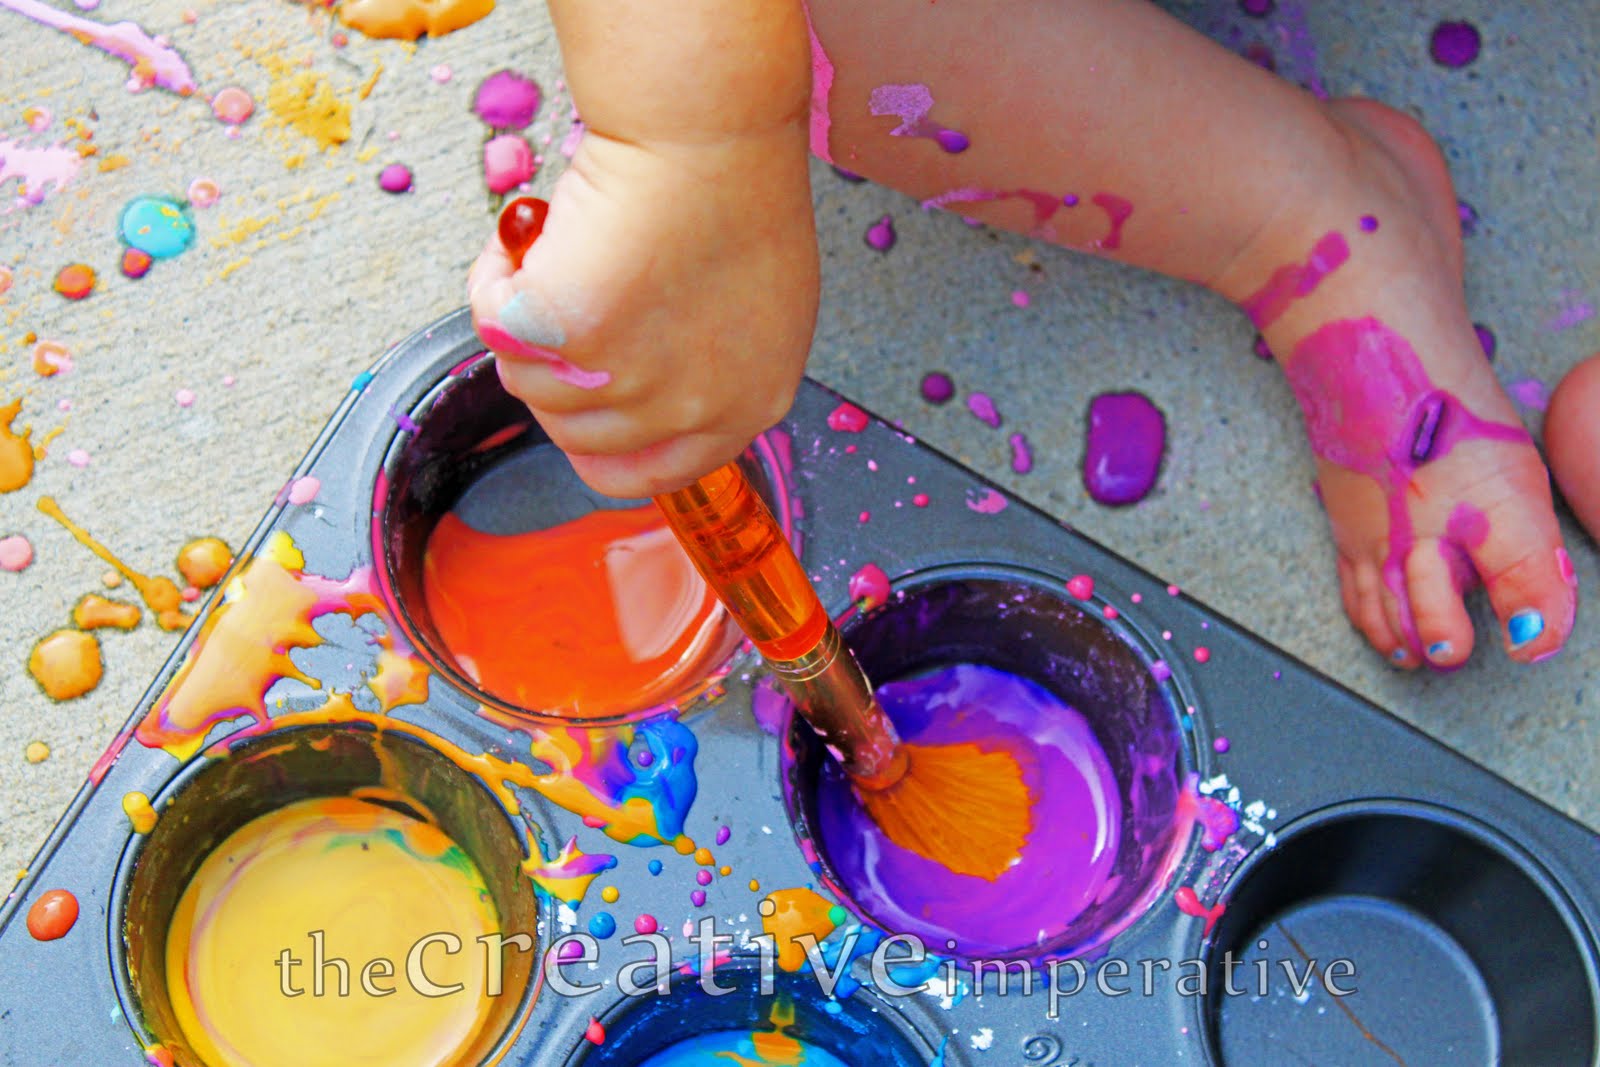
I know by now you've seen these paints all over blogland, but we had so much fun today I just had to share
The kids painted their feet as much as the sidewalk

All you need to make the sidewalk paint is 1 part cornstarch

+ 1 part water

mix it up and add a few drops of food coloring
now you get to paint!

Girlie started scooping and pouring it on the sidewalk

little artists!
We will be doing this again and again throughout the summer.  So easy and lots of fun.  The kids' hands were a little stained from the food coloring, but I'm sure they'll be better in a couple days.

Hope you're having a fun summer so far!
Blessings,
Jamie
Pin It

This post was featured here 

Related Posts Plugin for WordPress, Blogger...