Friday, July 19, 2013

Little Girl Princess Bedroom Reveal

I am so happy to finally have the kids' rooms painted!  Every time I would go to work on a painting job the kids would ask when I was going to paint their rooms.  The mommy guilt was especially bad if I was going to paint a mural for another little girl or boy.

We decided to surprise the kids with new rooms.  Here is what we came up with for our little girl...

I know I know, it's a little over the top.  I told you, I had mommy guilt!  It all started with that blanket on the end of the bed.  I found it at Hobby Lobby for 50% off and the little lady fell in love with it.  She calls it her cheetah blanket and takes it everywhere.

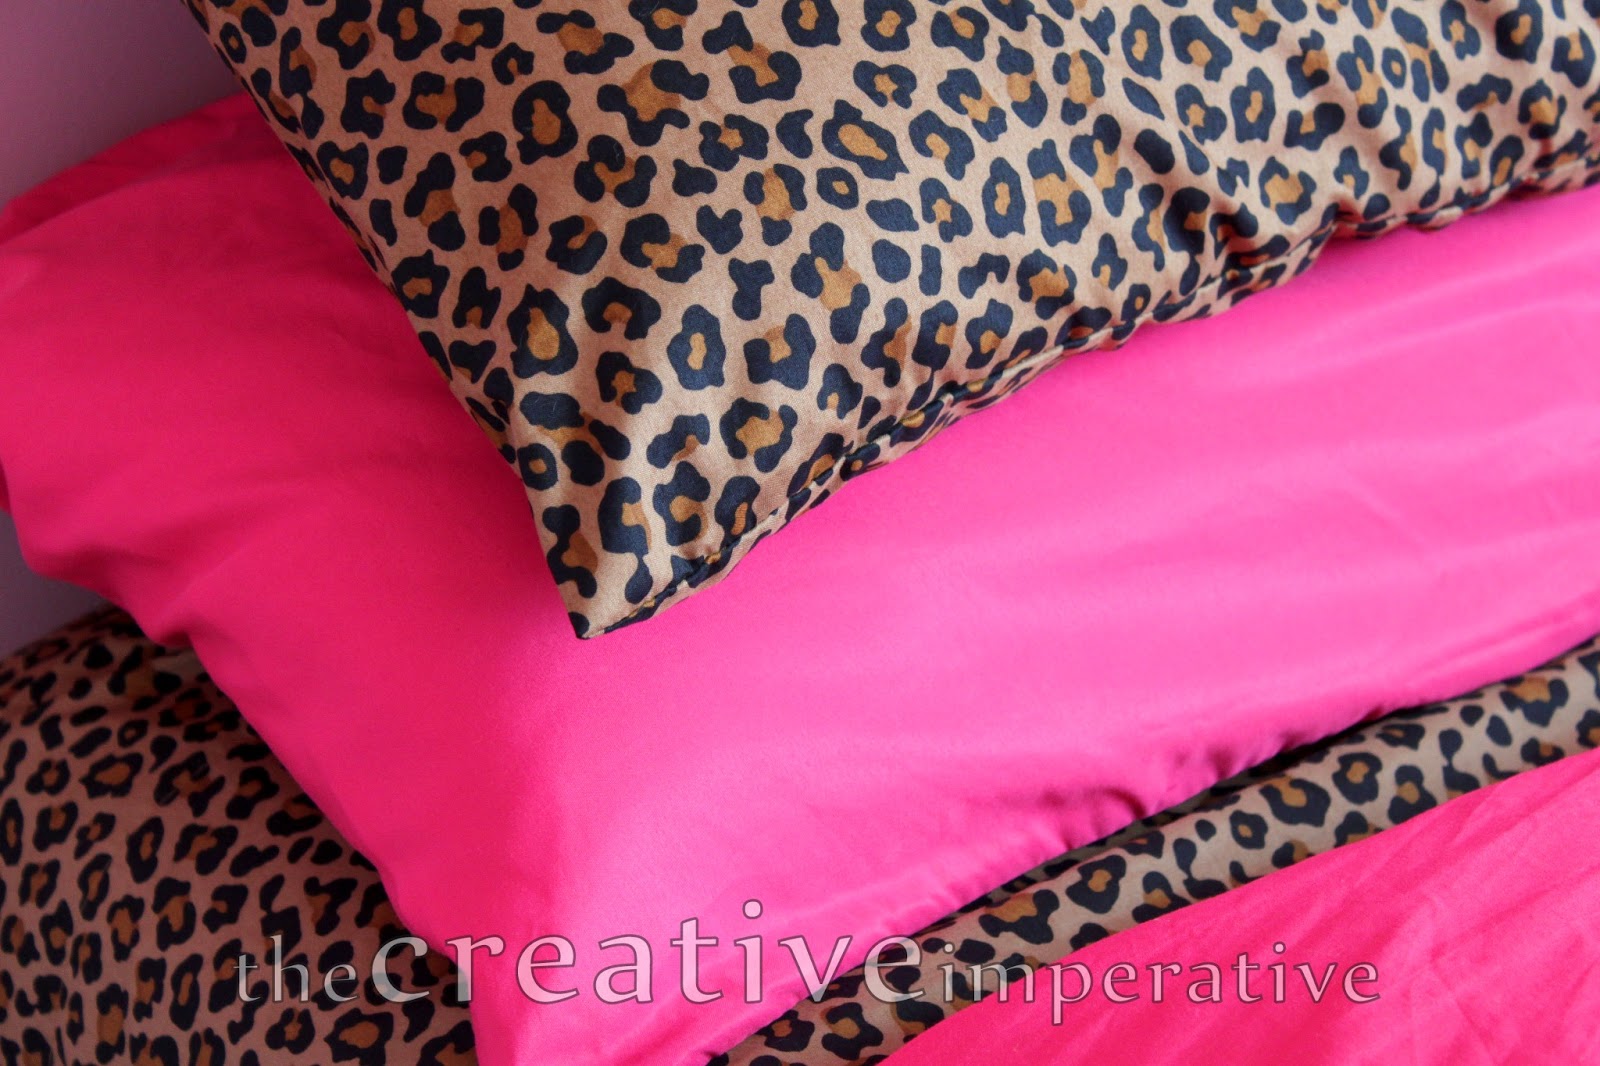
I found pink sheets and leopard print sheets at Wal Mart... I sewed two of the pink sheets together to make the duvet cover and I used pillow cases for the fabric to make the border on the curtains and the cornice above the bed.


My husband built the cornice and I added all the decorative elements.  I found sheer curtains at Hobby Lobby for $3.50 a panel because they were 50% off.  It took four panels to get all that drapey-goodness!


I painted the crown headboard right on the wall and I used Martha Stewart Gold Metallic paint


There are actual little gems hot glued onto the wall... we are on day 6 and she hasn't picked one off yet!  Woot!


I changed out the polka dot fabric for the leopard sheet fabric... there is a tutorial here for how I originally made the curtains longer.


Here is another way I used the sheets.  The panel isn't exactly sewn onto the pillow yet, but you get the picture.  Girlie was horrified when the panel fell off the pillow when she went to get into bed the first night.


She loves flowers so I thought, "why not give her her own vase?"  The flower bunches were on clearance at Hobby Lobby for $.80 a piece!

The nightstand/bookshelf was from Goodwill and it was painted in the Martha Stewart Metallic paint.

And this simple little piece might be my favorite part of the room.

I just made the design in Illustrator and printed it out on our printer.  I spray painted an old frame to match the room.


This is on the outside of her door... I made it with the Silhouette and some adhesive vinyl.

Her favorite part of the room?  The bow holder!

And above the bow holder hangs this

What do you think?  Do you have a fierce one who'd like a room like this?  I'm hoping this will be something she'll like for years to come!

Thanks so much for stopping by!
Blessings,
Jamie

This post is linked here:  Today's Creative Blog Blue Cricket Design Kurtz Corner Mommy by Day Crafter by Night Cherished Bliss Lines Across My Face Southern Lovely Bear Rabbit Bear French Country Cottage Craft Junkie Too DIY Home Sweet Home Saved by Love Domestically Speaking Funky Junk Interiors Homemaker on a Dime Eisy Morgan The Answer is Chocolate Making the World Cuter Craft-O-Maniac lolly jane 504 Main I Heart Naptime Singing Three Little Birds mad in crafts House of Hepworths Somewhat Simple Chic on a Shoestring Keeping it Simple Be Different Act Normal Sew Can Do Sew Chatty Pinkapotamus The Girl Creative Flamingo Toes Tatertots and Jello Sisters of the Wild West Reasons to Skip the Housework Giggles Glitz and Glam Tip JunkieThe Trendy Treehouse Ladybug Blessings Night Owl Crafting Tea Rose Home My Girlish Whims Allie Makes Gluesticks Thrifty 101 Momnivores Dilemma A Little Knick Knack Miss Mustard Seed Freckled Laundry kojo designs A vision to remember Primitive and Proper 733 Rook no 17 Home Stories A to Z Naptime Crafters Whipperberry delightful order blissful and domestic elizabeth and co diy by design gingersnap crafts>my repurposed life

Monday, July 15, 2013

DIY Hair Clip Holder from a Picture Frame

I finished the kids' rooms!  In the next week or two I'll be posting about the various projects I worked on for each room.  Here is one of my favorite elements of my daughter's room...


I found some sheets at Wal Mart in the leopard print and I used it for most of the projects in the room.

Here is the before and after
The frame is something I found at a garage sale (two years ago) with the intention of doing this one day.  That is NOT a quick turn around, but hey, at least it's done now.

I took the frame apart by unscrewing it from the back.  I then placed a sheet of batting over the picture and particle board that made up the back of the frame

Then came the fabric layer

The fabric was cut to fit a little better


I then cris-crossed the pink gross grain ribbon to lay it out.  I used a little dab of hot glue at each of the intersections.  Then I turned it over and hot glued the heck out of all the layers to the back of the particle board.


Here's what the back looked like right before I went nuts with the glue gun.  I replaced the screws that held the back onto the frame at this point.


I also added these little gems from Hobby Lobby to give it a little sparkle.  What did I use to adhere them?  You guessed it!  Hot glue!


Here is it all done but without any bows or clips on it.

What do you think?  It was definitely a hit with the little one.  She is such a girlie girl... I seriously have no idea where she gets it!  I didn't have so much as a Barbie doll growing up.

Thanks so much for stopping by!
Blessings,
Jamie

This post is linked here:  Today's Creative Blog Blue Cricket Design Kurtz Corner Mommy by Day Crafter by Night Cherished Bliss Lines Across My Face Southern Lovely Bear Rabbit Bear French Country Cottage Craft Junkie Too DIY Home Sweet Home Saved by Love Domestically Speaking Funky Junk Interiors Homemaker on a Dime Eisy Morgan The Answer is Chocolate Making the World Cuter Craft-O-Maniac lolly jane 504 Main I Heart Naptime Singing Three Little Birds mad in crafts House of Hepworths Somewhat Simple Chic on a Shoestring Keeping it Simple Be Different Act Normal Sew Can Do Sew Chatty Pinkapotamus The Girl Creative Flamingo Toes Tatertots and Jello Sisters of the Wild West Reasons to Skip the Housework Giggles Glitz and Glam Tip JunkieThe Trendy Treehouse Ladybug Blessings Night Owl Crafting Tea Rose Home My Girlish Whims Allie Makes Gluesticks Thrifty 101 Momnivores Dilemma A Little Knick Knack Miss Mustard Seed Freckled Laundry kojo designs A vision to remember Primitive and Proper 733 Rook no 17 Home Stories A to Z Naptime Crafters Whipperberry delightful order blissful and domestic elizabeth and co diy by design gingersnap crafts>my repurposed life

Tuesday, July 02, 2013

Some Girly Decor

My friend Corinne told me about a great clearance sale going on at Hobby Lobby... I ended up scoring some great stuff!

I found this frame and cut the artwork out of it (it was a cowgirl-themed painting... SO not the style of my daughter).  I replaced it with a print of a quote that describes her perfectly.  I made the artwork in Adobe Illustrator then had it printed as a photo.

Anyone who knows my daughter just laughs when I show them this quote.  She is tiny.  But man does she have an attitude!

I was inspired by this artwork on etsy.

I can't believe how perfectly the frame and mat match the room; I've been slowly but surely decking the room out in hot pink and leopard print.


  Here's a sneak peek of the room

And here's another piece of art I bought at Hobby Lobby

The canvas painting was only $7!

I'm hoping to have both the kids' rooms done in the next couple weeks.  I'll have a big reveal when they're done!  We've been in this house for over a year now and I still haven't gotten around to painting anything fun in their rooms.  Every time I have a mural job to paint a child's room, I feel pretty badly about not taking care of my kids' rooms first.

Anyone else out there work in other people's homes but never get around to taking care of their own???  Let me know if you can relate in the comments.

Thanks for stopping by!
Blessings,
Jamie
This post is linked here:  Today's Creative Blog Blue Cricket Design Kurtz Corner Mommy by Day Crafter by Night Cherished Bliss Lines Across My Face Southern Lovely Bear Rabbit Bear French Country Cottage Craft Junkie Too DIY Home Sweet Home Saved by Love Domestically Speaking Funky Junk Interiors Homemaker on a Dime Eisy Morgan The Answer is Chocolate Making the World Cuter Craft-O-Maniac lolly jane 504 Main I Heart Naptime Singing Three Little Birds mad in crafts House of Hepworths Somewhat Simple Chic on a Shoestring Keeping it Simple Be Different Act Normal Sew Can Do Sew Chatty Pinkapotamus The Girl Creative Flamingo Toes Tatertots and Jello Sisters of the Wild West Reasons to Skip the Housework Giggles Glitz and Glam Tip JunkieThe Trendy Treehouse Ladybug Blessings Night Owl Crafting Tea Rose Home My Girlish Whims Allie Makes Gluesticks Thrifty 101 Momnivores Dilemma A Little Knick Knack Miss Mustard Seed Freckled Laundry kojo designs A vision to remember Primitive and Proper 733 Rook no 17 Home Stories A to Z Naptime Crafters Whipperberry delightful order blissful and domestic elizabeth and co diy by design gingersnap crafts>my repurposed life

Tuesday, June 25, 2013

The Way, the Truth, the Life

I recently painted this at church


I love the simplicity of the quote; it is a great reminder of who He is.

"Jesus Christ" is hand-painted and I made a stencil with the Silhouette to paint bottom part.

My friend, Sandy, asked me to paint this in the Connection Corner at our church.  This is a room in the lobby where new believers go to learn more about Jesus and how to grow in their relationship with Him.

Sandy has such a gift for sharing Christ's love with others; you can find out more at the Sharing God's Grace website or by following on Facebook.

Thanks so much for stopping by!
Blessings,
Jamie

Wednesday, June 05, 2013

Peanut Butter and Chocolate Buckeye Brownies Recipe

 Oh.  My.  Goodness.  These things are so amazing!  I found the recipe on Pinterest, but they were adapted versions of the original from Buns in My Oven

Warning:  They are rich!  But anyone who loves the peanut butter and chocolate combo (and who doesn't?) will flip for these brownies.


*note:  It helps to get a head start on this recipe.  Make the brownies the night before or in the morning on the day you'd like to have them

Here's what you need:

1 box mix brownies, prepared according to package directions (I used Ghirardelli and added extra chocolate chips)
1 cup creamy peanut butter
1/2 cup softened butter (I microwaved it for 15 seconds)
2 cups powdered sugar 
1-2 tablespoons milk, if needed (I didn't end up needing it)
1/2 cup heavy whipping cream
6 ounces semi-sweet chocolate chips
Here's what you do:
Prepare the brownies according to recipe or make brownies from a box mix.  I added extra chips to mine because, you know, they probably wouldn't have been rich enough without more chips.  Allow brownies to cool completely.
With a mixer beat together the peanut butter, butter, and 2 cups of powdered sugar until well combined and smooth. Add more powdered sugar if needed to get the consistency you prefer. The mixture should be thick, but add a tablespoon or two of milk if needed, so that you are able to spread the mixture easily on the brownies.
Heat the cream in a small sauce pan over medium heat until it just begins to boil. Remove from heat and pour over the chocolate chips in a bowl. Whisk until the chocolate is melted.
Allow to cool for 10 minutes and then pour over the peanut butter and brownies. Smooth with a spatula and then place the brownies in the fridge to set for at least 1 hour.
You can really see the layers here.  It doesn't matter if they're a little messy looking, they'll look great when they're cut.


Let me know if you decide to try these... you won't regret it!
Blessings,
Jamie

This post is linked here:  Today's Creative Blog Blue Cricket Design Kurtz Corner Mommy by Day Crafter by Night Cherished Bliss Lines Across My Face Southern Lovely Bear Rabbit Bear French Country Cottage Craft Junkie Too DIY Home Sweet Home Saved by Love Domestically Speaking Funky Junk Interiors Homemaker on a Dime Eisy Morgan The Answer is Chocolate Making the World Cuter Craft-O-Maniac lolly jane 504 Main I Heart Naptime Singing Three Little Birds mad in crafts House of Hepworths Somewhat Simple Chic on a Shoestring Keeping it Simple Be Different Act Normal Sew Can Do Sew Chatty Pinkapotamus The Girl Creative Flamingo Toes Tatertots and Jello Sisters of the Wild West Reasons to Skip the Housework Giggles Glitz and Glam Tip JunkieThe Trendy Treehouse Ladybug Blessings Night Owl Crafting Tea Rose Home My Girlish Whims Allie Makes Gluesticks Thrifty 101 Momnivores Dilemma A Little Knick Knack Miss Mustard Seed Freckled Laundry kojo designs A vision to remember Primitive and Proper 733 Rook no 17 Home Stories A to Z Naptime Crafters Whipperberry delightful order blissful and domestic elizabeth and co diy by design gingersnap crafts>my repurposed life

Friday, May 31, 2013

Mason Jar Storage for the Kitchen

The pantry in our new house is very small.  I'm not complaining... it's actually easier to find things in a smaller pantry, but I really have to stay on top of keeping it organized.  Small bags of nuts, rice and things like baking soda would still get lost regularly.  So I decided to bring some of those items out into the light of day!


I used the Silhouette and some Armour Etch to put the labels on each of the jars


I used a white painted 2 x 4 for the "shelf" that the back row is sitting on (actually, it's this sign until I replace it with another piece of wood)


You can see it peeking out behind the pecans in the picture above.


I love the way they look!  But my favorite part of this project:  all the space that is now freed up in the pantry.

What do you think?  Do you have any tips for organizing your food?  Let me know in the comments.  Thanks so much for stopping by!

Blessings,
Jamie
Sugar Bee Crafts This post is linked here:  Today's Creative Blog Blue Cricket Design Kurtz Corner Mommy by Day Crafter by Night Cherished Bliss Lines Across My Face Southern Lovely Bear Rabbit Bear French Country Cottage Craft Junkie Too DIY Home Sweet Home Saved by Love Domestically Speaking Funky Junk Interiors Homemaker on a Dime Eisy Morgan The Answer is Chocolate Making the World Cuter Craft-O-Maniac lolly jane 504 Main I Heart Naptime Singing Three Little Birds mad in crafts House of Hepworths Somewhat Simple Chic on a Shoestring Keeping it Simple Be Different Act Normal Sew Can Do Sew Chatty Pinkapotamus The Girl Creative Flamingo Toes Tatertots and Jello Sisters of the Wild West Reasons to Skip the Housework Giggles Glitz and Glam Tip JunkieThe Trendy Treehouse Ladybug Blessings Night Owl Crafting Tea Rose Home My Girlish Whims Allie Makes Gluesticks Thrifty 101 Momnivores Dilemma A Little Knick Knack Miss Mustard Seed Freckled Laundry kojo designs A vision to remember Primitive and Proper 733 Rook no 17 Home Stories A to Z Naptime Crafters Whipperberry delightful order blissful and domestic elizabeth and co diy by design gingersnap crafts>my repurposed life
Related Posts Plugin for WordPress, Blogger...